How to Code Sign an Electron App for Windows

Overview
For our project with LEAF International’s interactive kiosks, we decided that our past solution of remotely logging into a computer to update software OR asking the client to manually update an install was a bit archaic. We decided to look into Electron’s autoUpdater functionality. Before we can do this, our apps needed a Code Signing certificate to verify the app was trusted and would prevent Windows Security Alert from blocking the download of our application updates.
In starting this task, every tutorial we found didn’t seem to work. So, we struggled through figuring out this process so I’ve outlined my steps below so that perhaps you won’t have to.
Step 1: Buy an EV Code Signing Certificate.
We chose to purchase our certificate from DigiCert (though there are several certificate authorities that you can choose from). DigiCert will mail you a USB drive that is password protected. When you get your USB drive, use the instructions that are provided to activate and obtain your token password.
Continue to follow the directions until after you change your Token’s password. Make sure to save this password because you will need it later.
Step 2: Install the Certificate.
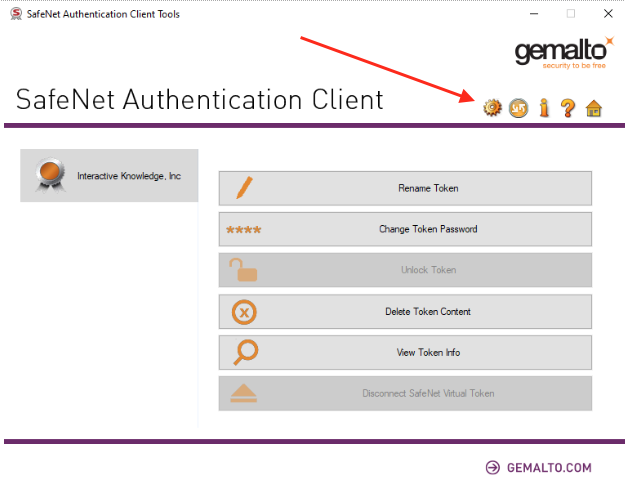
Open SafeNet Authentication Client Tools application and click the advanced view (gear icon).
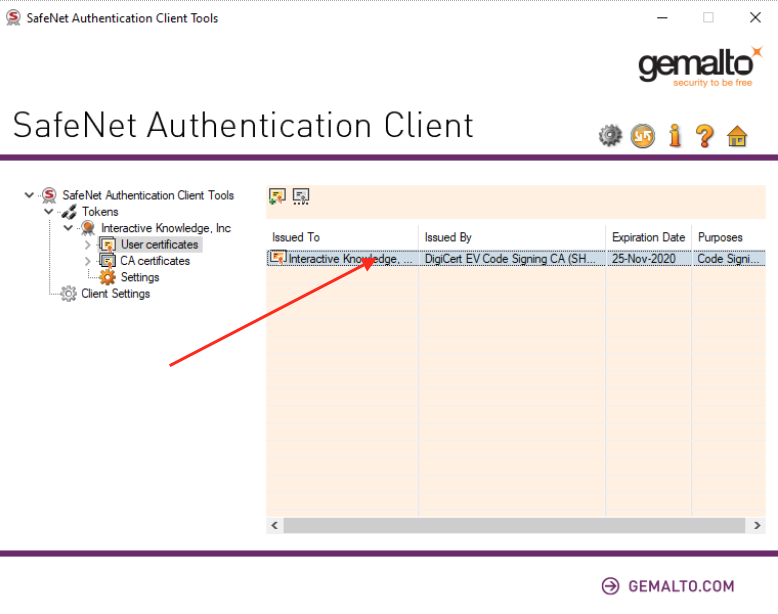
Select user certificates under your Organization name and select your certificate and double click.
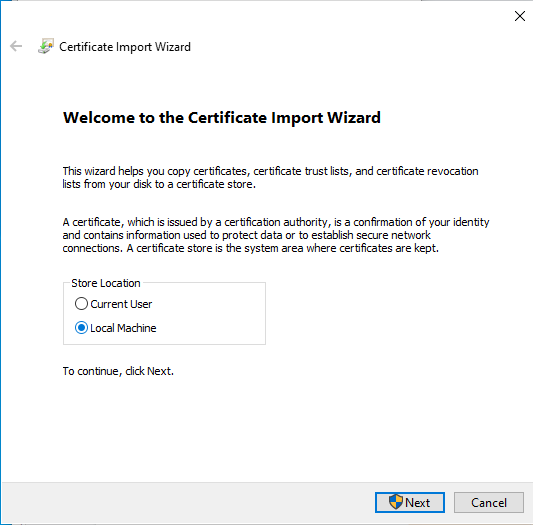
In the dialog box that opens, click Install certificate. In the next screen, select Local Machine and click Next.
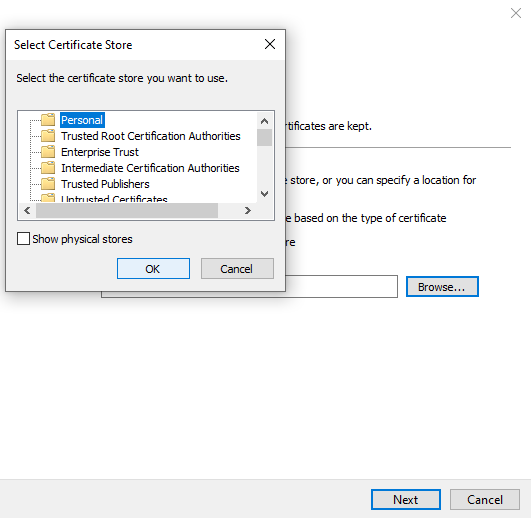
Select Place all certificates in the following store and click Browse.
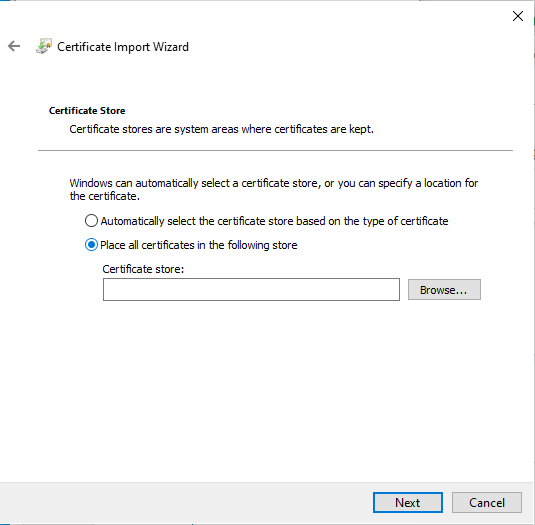
From the list select Personal (Or another place of your choosing) and click OK, Next and Finish.
After that there should be a dialog that notifies you that your import was successful.
Step 3a: Signing your application manually
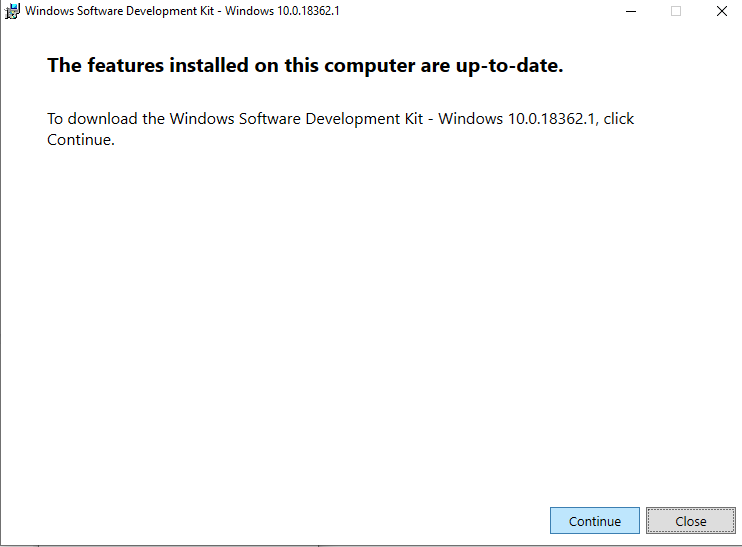
Download Window’s SDK and run the installer file that is downloaded. Once downloaded, a dialog box will open. Click continue.
Select the location where you’d like to save the downloads. (It defaults to your download folder) then click Next.
Then, select the items you’d like to install. In this case all we really need to sign our applications is the Windows SDK Signing Tools for Desktop Apps
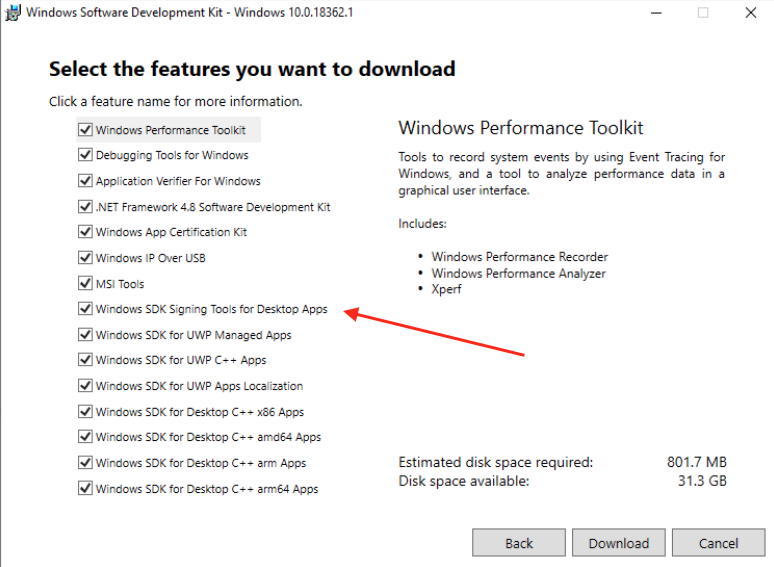
Once you’ve selected the features you want, click Download.
Next, you need to download DigiCert utility for Windows.
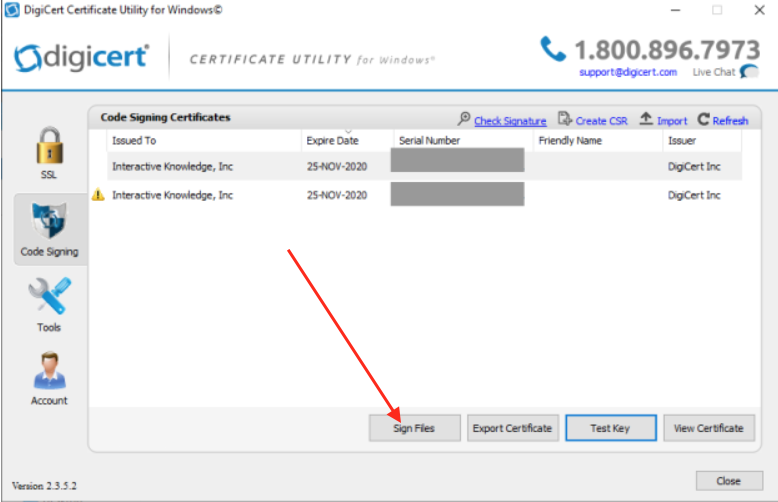
Once downloaded, open up the DigiCert Utility program. To sign your applications, click the row of the certificate you want to use and click Sign Files.
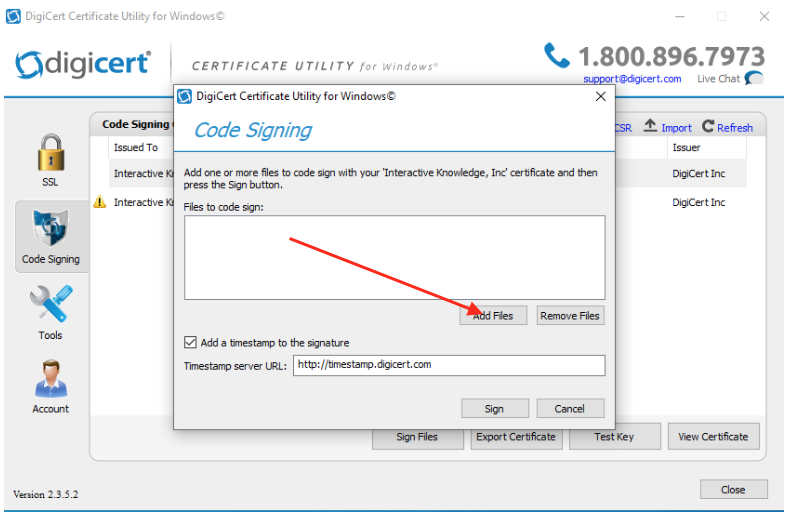
Click Add Files to find your application’s exe file(s). You can select multiple exe files if need be. Once you’ve added the files to the “Files to code sign” list, you can click Sign. This will prompt a dialog from SafeNet Authentication Client where you’ll enter your Token Password that was created in Step 1.
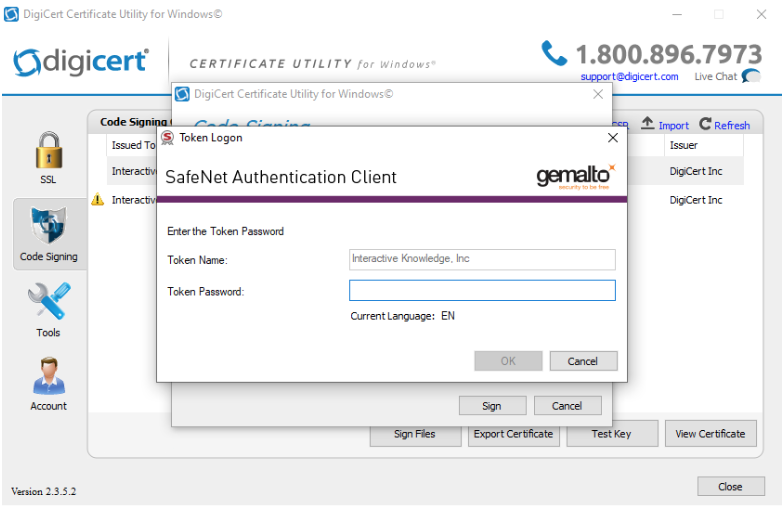
Click OK. We have a signed application! Hooray! But what if you want to sign the builds as they are created in Electron?
Step 3b: Signing your application automatically on building your Electron App
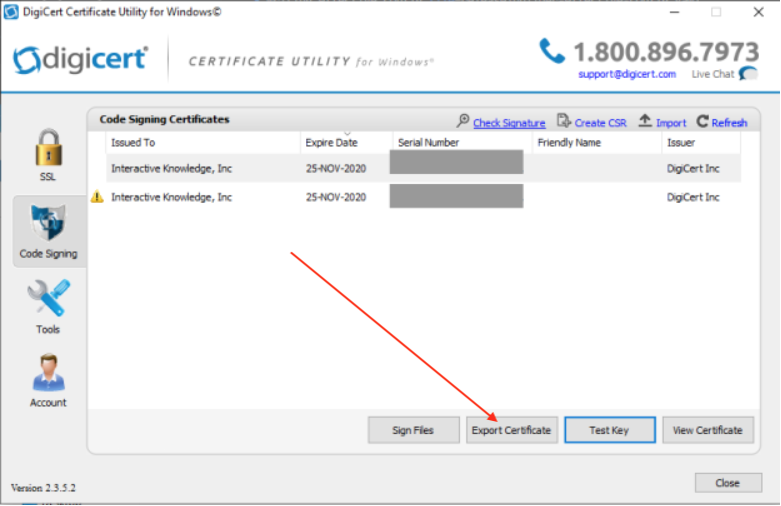
If you’re a Windows developer, you may just want to sign your electron builds automatically. To do this, use the digicert utility to export your certificate to a file location on your computer.
Click to select the row that represents the certificate you want to use and click Export Certificate
Once you’ve exported your certificate to a .cer file, use the Windows command prompt to export the .cer file to pfx file by using openssl.
openssl pkcs12 -export -in path/to/yourcertificate.cer -out desitnation/for/yourcertificate.pfx -nokeys
Enter your certificate token password from Step 1. Your pfx file will be generated at the location you designated in the openssl command.
Add the following variables to your .env file:
CSC_LINK=~/path/to/yourcertificate.pfx
CSC_KEY_PASSWORD=yourpasswordforcert
Make sure your electron builder configuration for windows is correct. Mine looked something like this:
  'win': {
    'target': [
      {
        'target': 'nsis',
        'arch': [
          'x64'
        ]
      }
    ],
    'icon': 'build/icon.png',
    'certificateSubjectName': 'Interactive Knowledge, Inc',
    'signingHashAlgorithms': ['sha256'],
    'publisherName': 'Interactive Knowledge, Inc',
    'signAndEditExecutable': true
  }
On the command line, run electron-builder -w
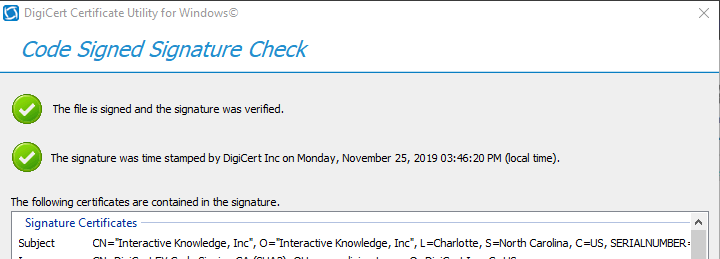
Once you get a build, you can use the digicert utility application to test the signing. Just click Check Signature in the top right.
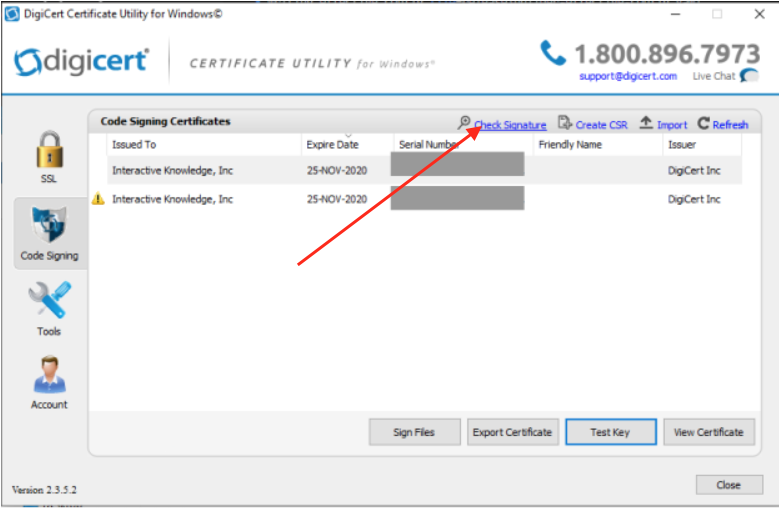
This will open up a file browser that you can select your exe file that was generated by electron-builder.
One thing to note is: You need to work on a Windows machine that has the Digicert Hardware token USB attached as well as the SafeNet Authentication Client running. I guess that makes sense that you have to verify you have access to the original token even if it is a bit of a pain.
There are other configuration settings for Windows builds that you can use in electron-builder but I didn’t need them because utilizing the environment variables during the build process worked well.
Step 4: Dealing with errors
But wait there’s more! Once I thought I had everything figured out, the 2nd time I tried to sign an update automatically during the build process, I got a lovely terminal full of red text with this at the top:
SignTool Error: The file is being used by another process.
SignTool Error: An error occurred while attempting to sign: C:\path\to\my\project.exe
So back to the drawing board. A quick google search showed me a few things to try, this from GitHub and this from Windows Central.
Unfortunately the above suggestions didn’t work, even adding my app’s build folder to Windows Defender’s exclusions. Ultimately, I nuked my build and release folders and tried again with success.
(When in doubt restart, right?)
Conclusion
This was certainly a learning experience. Our development team uses Macs so it makes more sense for our workflow to build our applications on our separate machines, then take them over to a designated Windows Signing machine, and sign each executable file as necessary manually instead of trying to sign them during the electron’s build process. But this would certainly be useful if you’re developing on a Windows machine and to streamline the process.